
Vehicle-specific pages
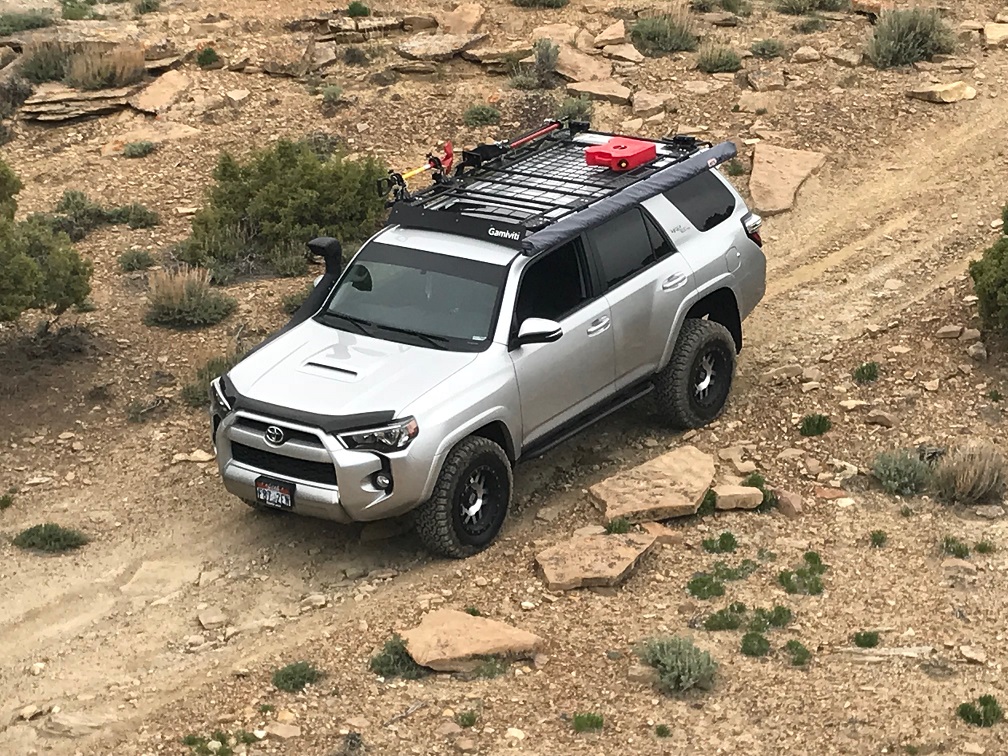
Click on the images below to see photos of trucks similar to your own, and get started on a roof rack build of your own. Or, skip this part and scroll down to learn more about the various features and attributes that make up a Gamiviti rack.


The Gamiviti collection of roof racks has become the benchmark in the industry for high quality, versatility, and easy to use. For more than 10 years, we’ve been providing our racks to Toyota and Lexus enthusiasts in a wide range of rack variants, from a simple flat rack, to a completely decked-out Expo rack. The options for racks are numerous, with even more bolt-on accessory options available. Our bespoke, custom build process is intended to give you the exact rack solution you want to create, while our Essential Expo solution for our most popular models makes a lot of those decisions for you, giving you all of the rack features we have found to be most useful. Essential Expo rack lead times range from in stock to 4-6 weeks, and lead times on custom racks are closer to 6-8 weeks.
There are essentially two ways to order… one is to look through the vehicle-specific pages above, and choose an Essential Expo rack. Based on our expereience, customer feedback, and understanding of our rack features we’ve crafted these Essential rack designs to meet most of the common needs and use cases, while omitting some of the features that may not get used that often. This is the fastest way to get started, and also an option for those who don’t wish to take the time to learn all of the naunces and options that make Gamiviti racks different from all others.
The second option is to engage with us in a simple email/phone dialog. Just fill out the form on the Contact page, and we’ll get back to you, usually the same day, or tomorrow, and we’ll work with you to design the rack best suited to your needs and future build plans.
In both instances, you’ll receive back a confirming drawing outlining all of your rack features, so there are no surprises, and no risk of getting something you didn’t want or ask for. We won’t get started until we’ve had this confirmation with you. Then once you have a custom quote & drawing and are ready to move forward, this is the button you use to make a deposit:
Place your deposit with venmo or a credit card
This what you can expect from every Gamiviti roof rack.
1" OD .065" wall hot rolled electric welded tubing.
Slotted mounting plates- not only allowing for multiple install positions, but providing additional accessory mounting locations as well.
Professionally welded seams and joints. We guarantee the welds on your rack, forever.
Internal sleeves at every butt joint. We prefer to keep the diameter of the tubing small, consistent, and not draw attention to the joining of pieces.
Priority on low profile- our goal is to always keep the main plane of your rack low and flat, so your rack is as useful driving home from Ikea or the Home Depot, as it is headed down to Canyonlands.
Flat racks, expo racks explained
All racks start out as a flat rack, with the Expo bar being a second, optional bar running across the front of the rack, and along some amount of the rack perimeter. All Expo bars begin with a second bar across the front of the rack, then they wrap around the sides ending an multiple positions. The shorter Expo ends above the front doors, Expo+ ends above the rear doors, Expo++ ends above the back tires, and Expo+++ wraps around the back.
A tapered Expo rack implies that the gap between the main flat portion of the rack and the Expo bar increases, as the rack moves forward. This design feature is mostly aesthetic, as it allows the lower Expo bar (run down) of the rack to more closely follow the lines of the vehicle over the front doors. It also provides for a wider gap across the front, which enables you to mount a light bar over the sunroof, behind your wind fairing.
Our Expo racks can also be run in both an “up” and “down” orientation- Expo up is the more traditional looking, safari style appearance, where a raised rail in front and along the sides can be used to help secure gear and/or attach accessories. And expo down is a lower profile, more aerodynamic option where the front of the rack serves as the framework to support the fairing, and the Expo bar on the sides serves as a grab handle, as well as a place to secure cargo and mount accessories, leaving the top surface of the rack completely flat.
Any vehicle can run a rack in either orientation, though there are some considerations that have to be made and we’ll do our best to recommend what works best. For example to run a rain gutter rack expo down, we’ll need to add cutouts in the sides of the rack, to allow clearance for the rain gutter towers. And to run a roof channel rack Expo up, we wouldn’t suggest doing the tapered version of the Expo, as the front of the rack would then be higher than the back, and could look funny. There are also wind fairing considerations to be made with each choice- it’s all possible, and it’s all part of the design process here.
Below are a few examples showing you some Expo variants, to better illustrate the descriptions above. This is not a comprehensive set of options, but only a sample of what is available. In fact, we can do essentially any Expo option, on any vehicle, within some constraints. So think of these galleries as only a small sample of what is avaialble to you.
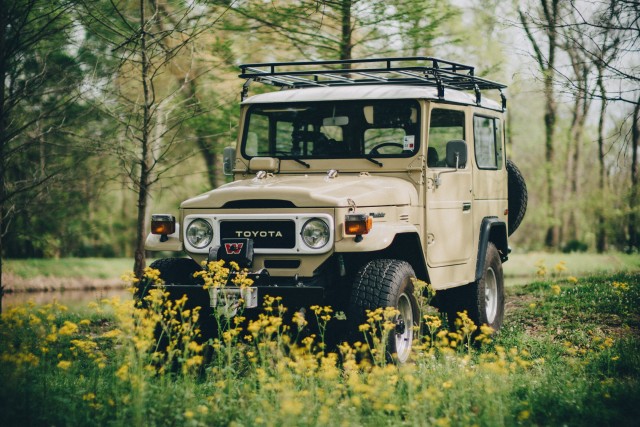
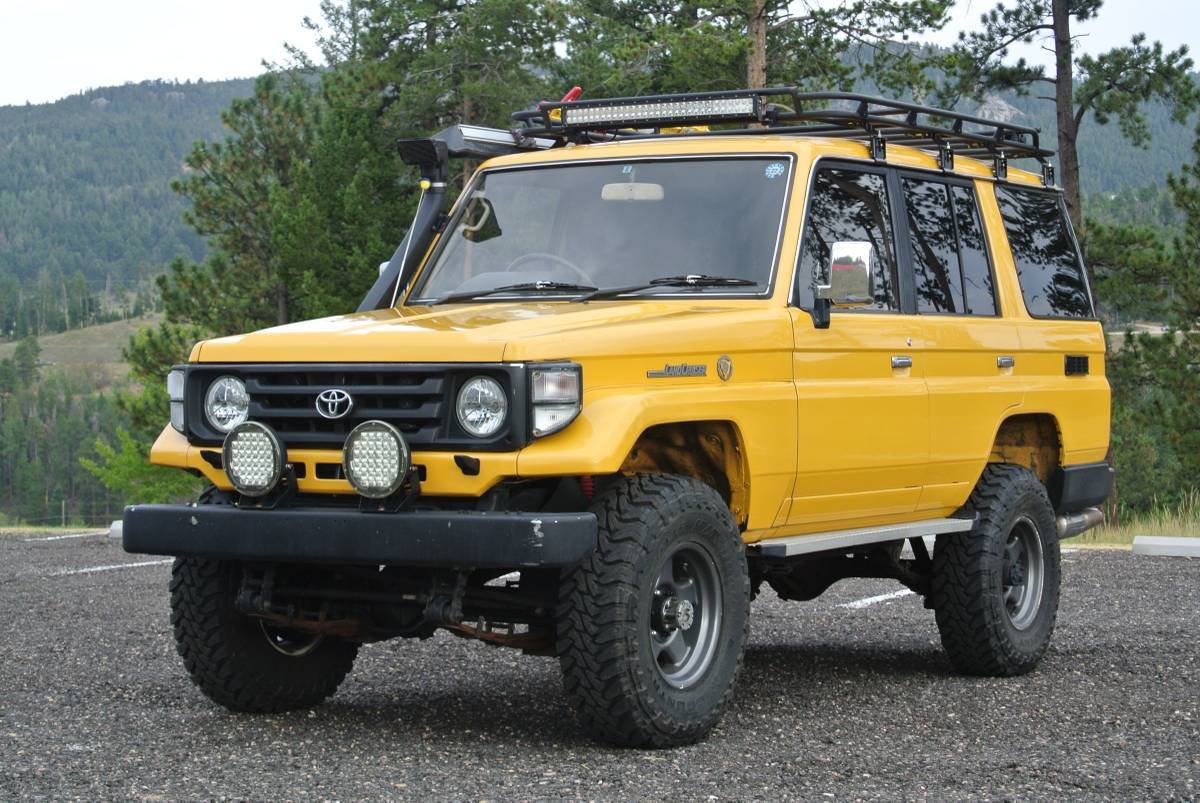
60 series


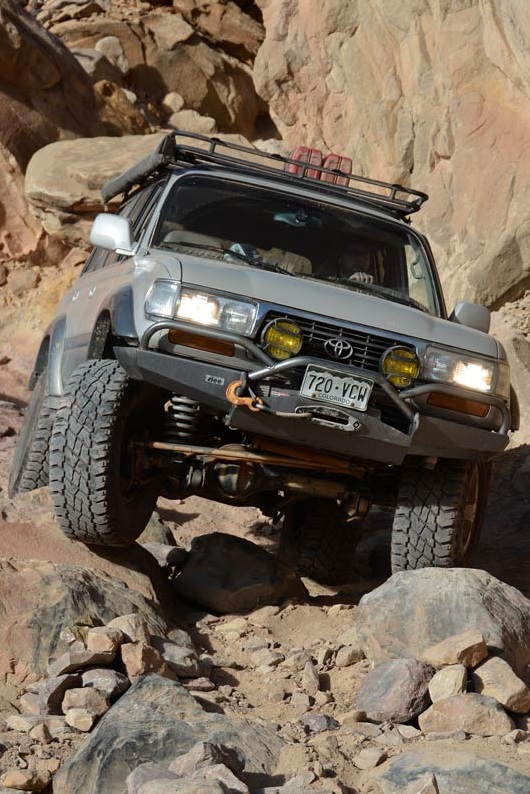
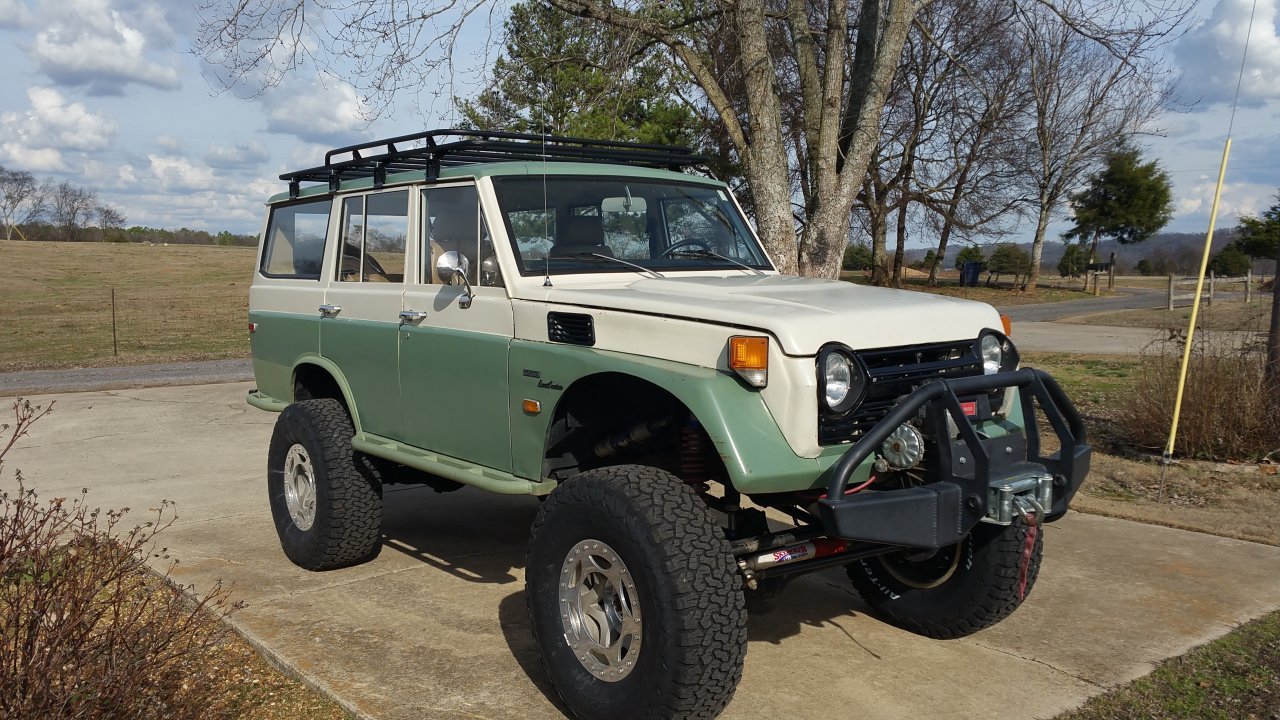
80 series


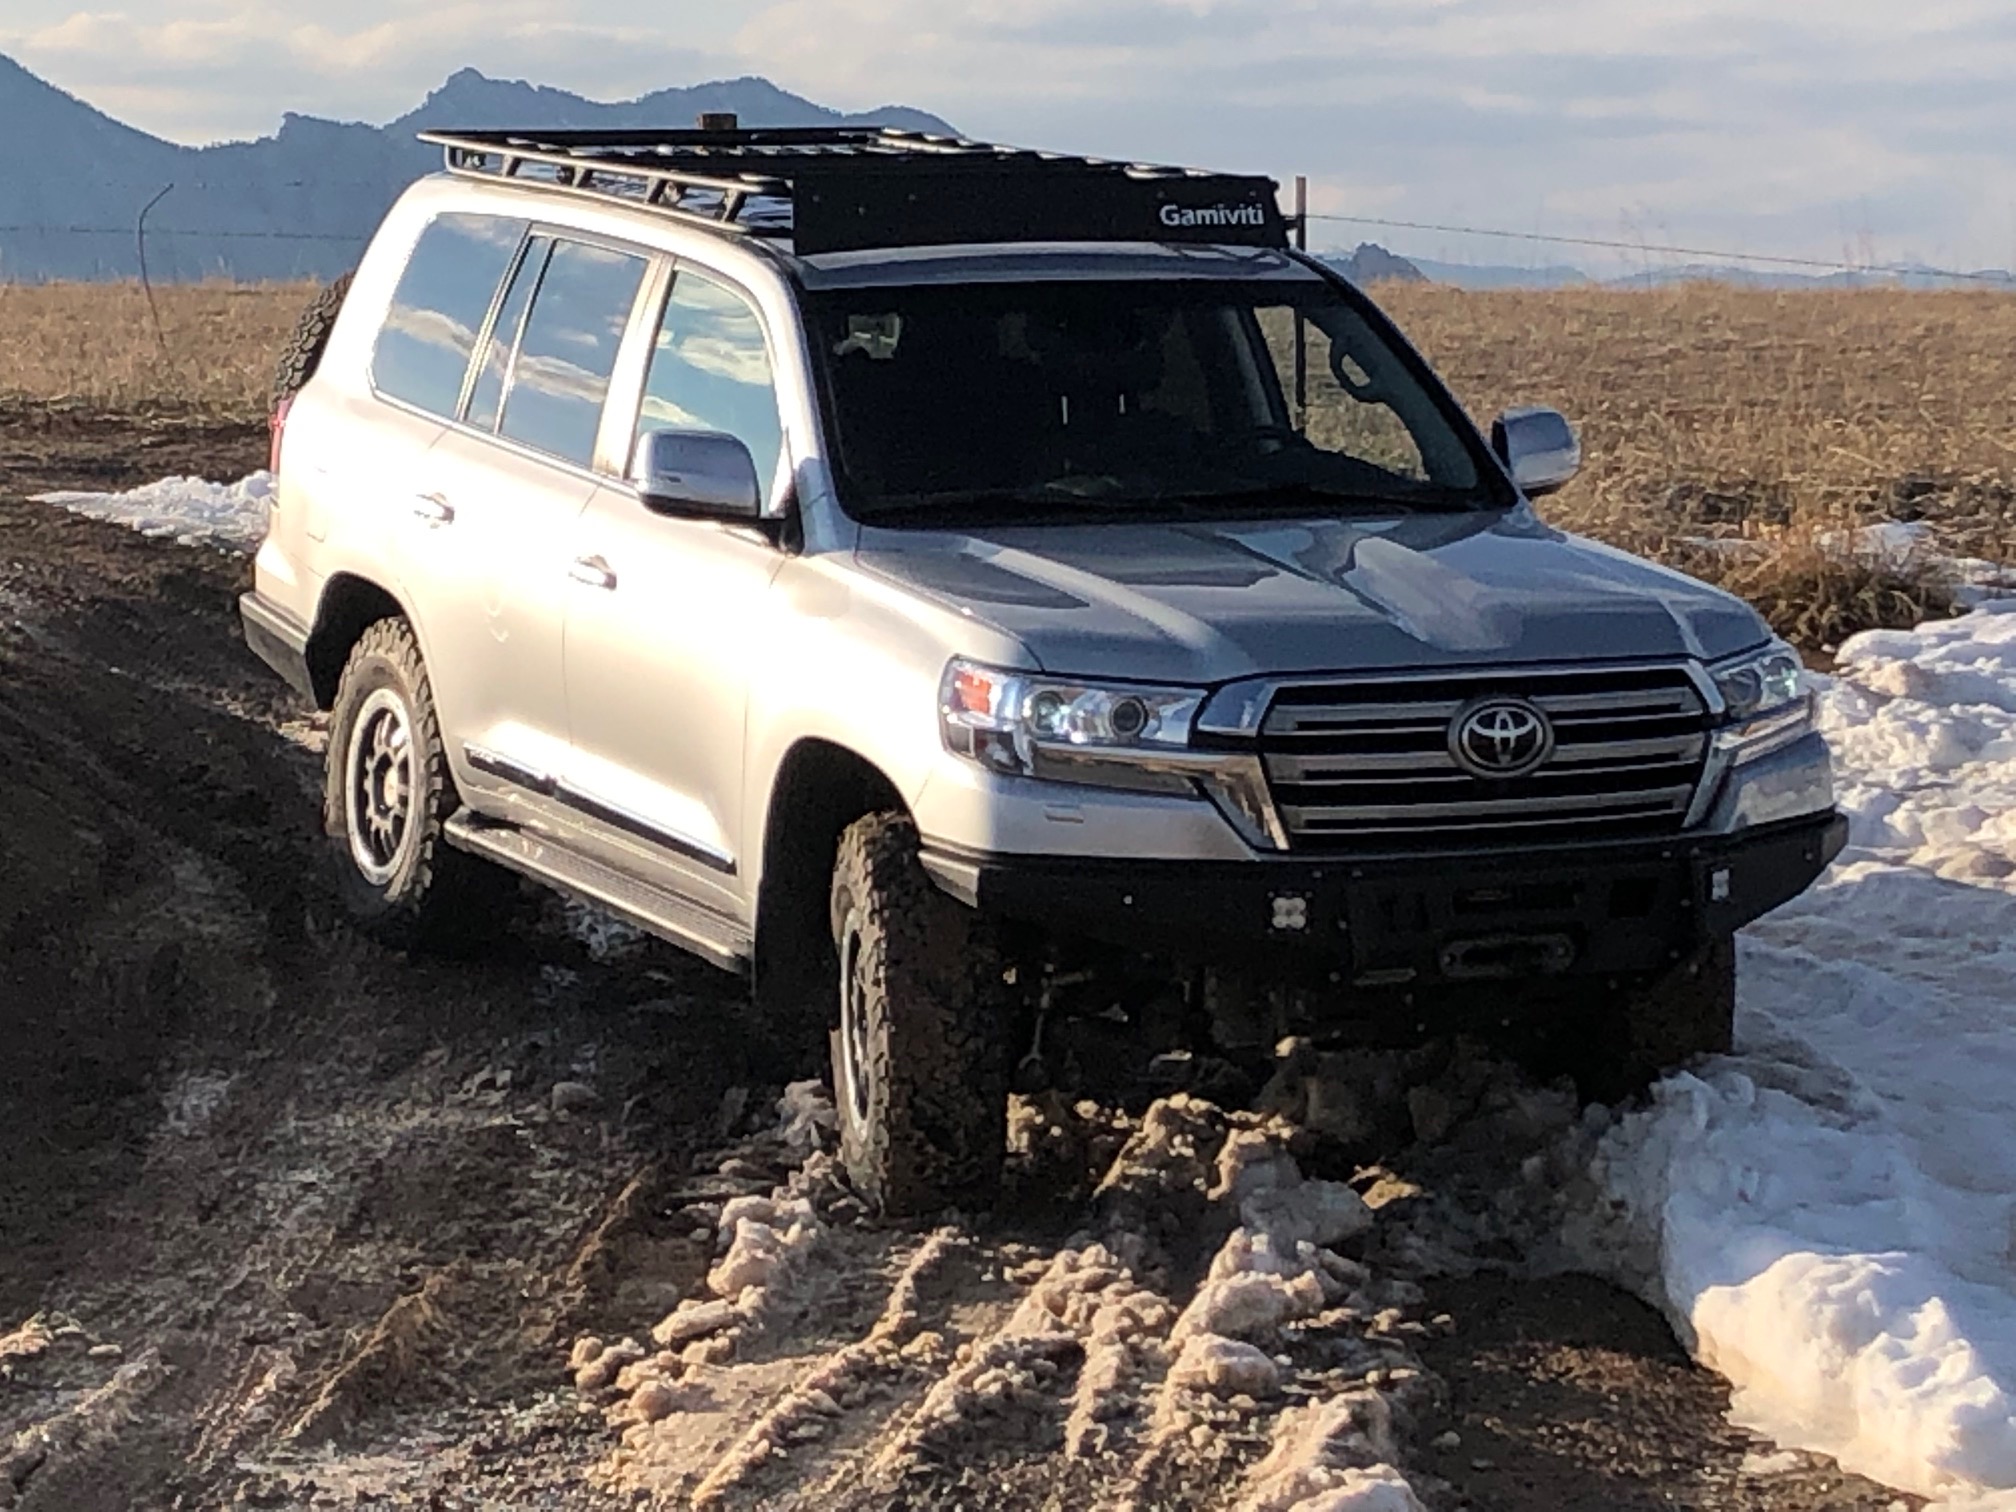
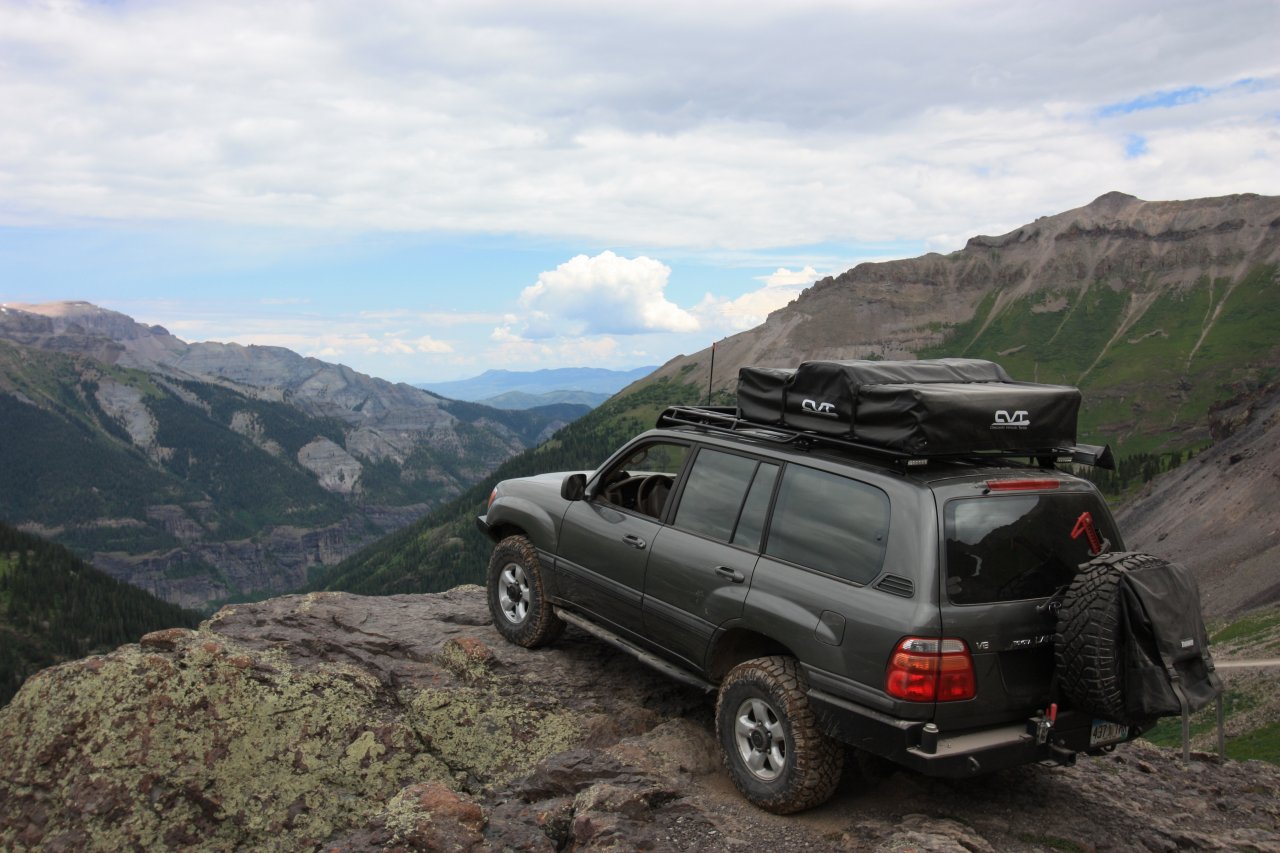
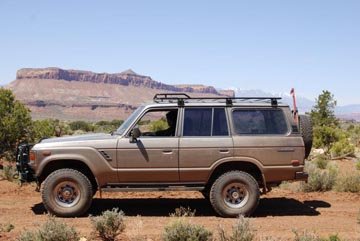
100 Series


Welded-on Rack options
As you begin to configure and think about your custom Gamiviti rack, all of the options and features fall into one of two categories- welded on, and bolt-on. The difference, as the names suggest, is that welded-on features need to be decided on before we begin production of your rack, as all of your features get welded in place prior to powder coating. Bolt-on accessories can come any time, and while it’s very common to add some to your rack package, it’s not necessary to do it all at the same time. To see more bolt-on options, take a look through all of the pages on the rack accessories page. The descriptions below help explain most of the welded-on features and options you can choose to add to your custom Gamiviti rack.
Sunroof Cutouts


One of the more difficult decisions of the entire build- do you want a sunroof cutout? Before you answer, know first that if you have a factory installed sunroof your Gamiviti rack allows for full operation of that, including tilt mode, without any extra cutout whatsoever. So if you want to have that additional cross bar on your rack to hold gear, and you don't plan on using your sunroof as an escape hatch, or if you don't have a sunroof, then you could probably skip this one. But if you'd prefer to leave that area over the sunroof unobstructed, the sunroof cutout option is for you. Benefits of having the sunroof cutout include:
Ability to climb out of the sunroof, either to get onto the rack or escape the vehicle
Ability to stand on the front seat to take pictures, or wave in a parade.
Bolt up a roof tent, by kneeling on the front seats and accessing the front clamps through the sunroof.
Clear, unobstructed view of the sky above while driving.
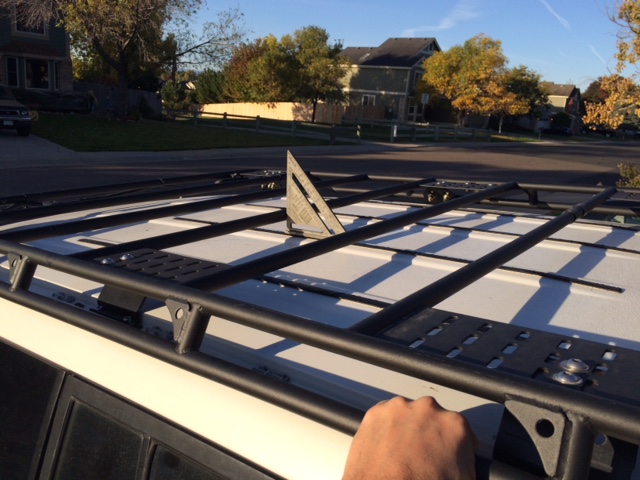
sunroof opening fillers
One surprise people find with their racks with sunroof openings is once the RTT is bolted up, there went the rack… and nowhere left to store gear. So if you’ve chosen to create an opening above the sunroof, you also get to choose if you’d like to cover it back up again. For that we offer two options…
Grid sunroof filler: this is a welded frame made of 1” angle and the same 1/4” solid round stock we use for the grid floors. It has custom holes around the perimeter, through which stainless bolts pass into threaded nuts welded to light tabs. Installation takes just minutes, and it’s strong enough to stand on, even strap gear to, plus it looks great.
Plastic grid panel: This is the same grid panel sold as a general rack accessory, which mounts on top of the rack. It will span the sunroof opening, providing some support for smaller gear, but it’s generally not robust enough to stand on or strap gear to.
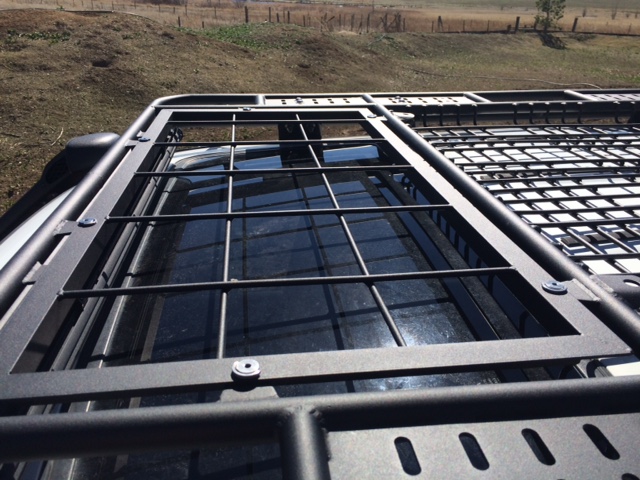
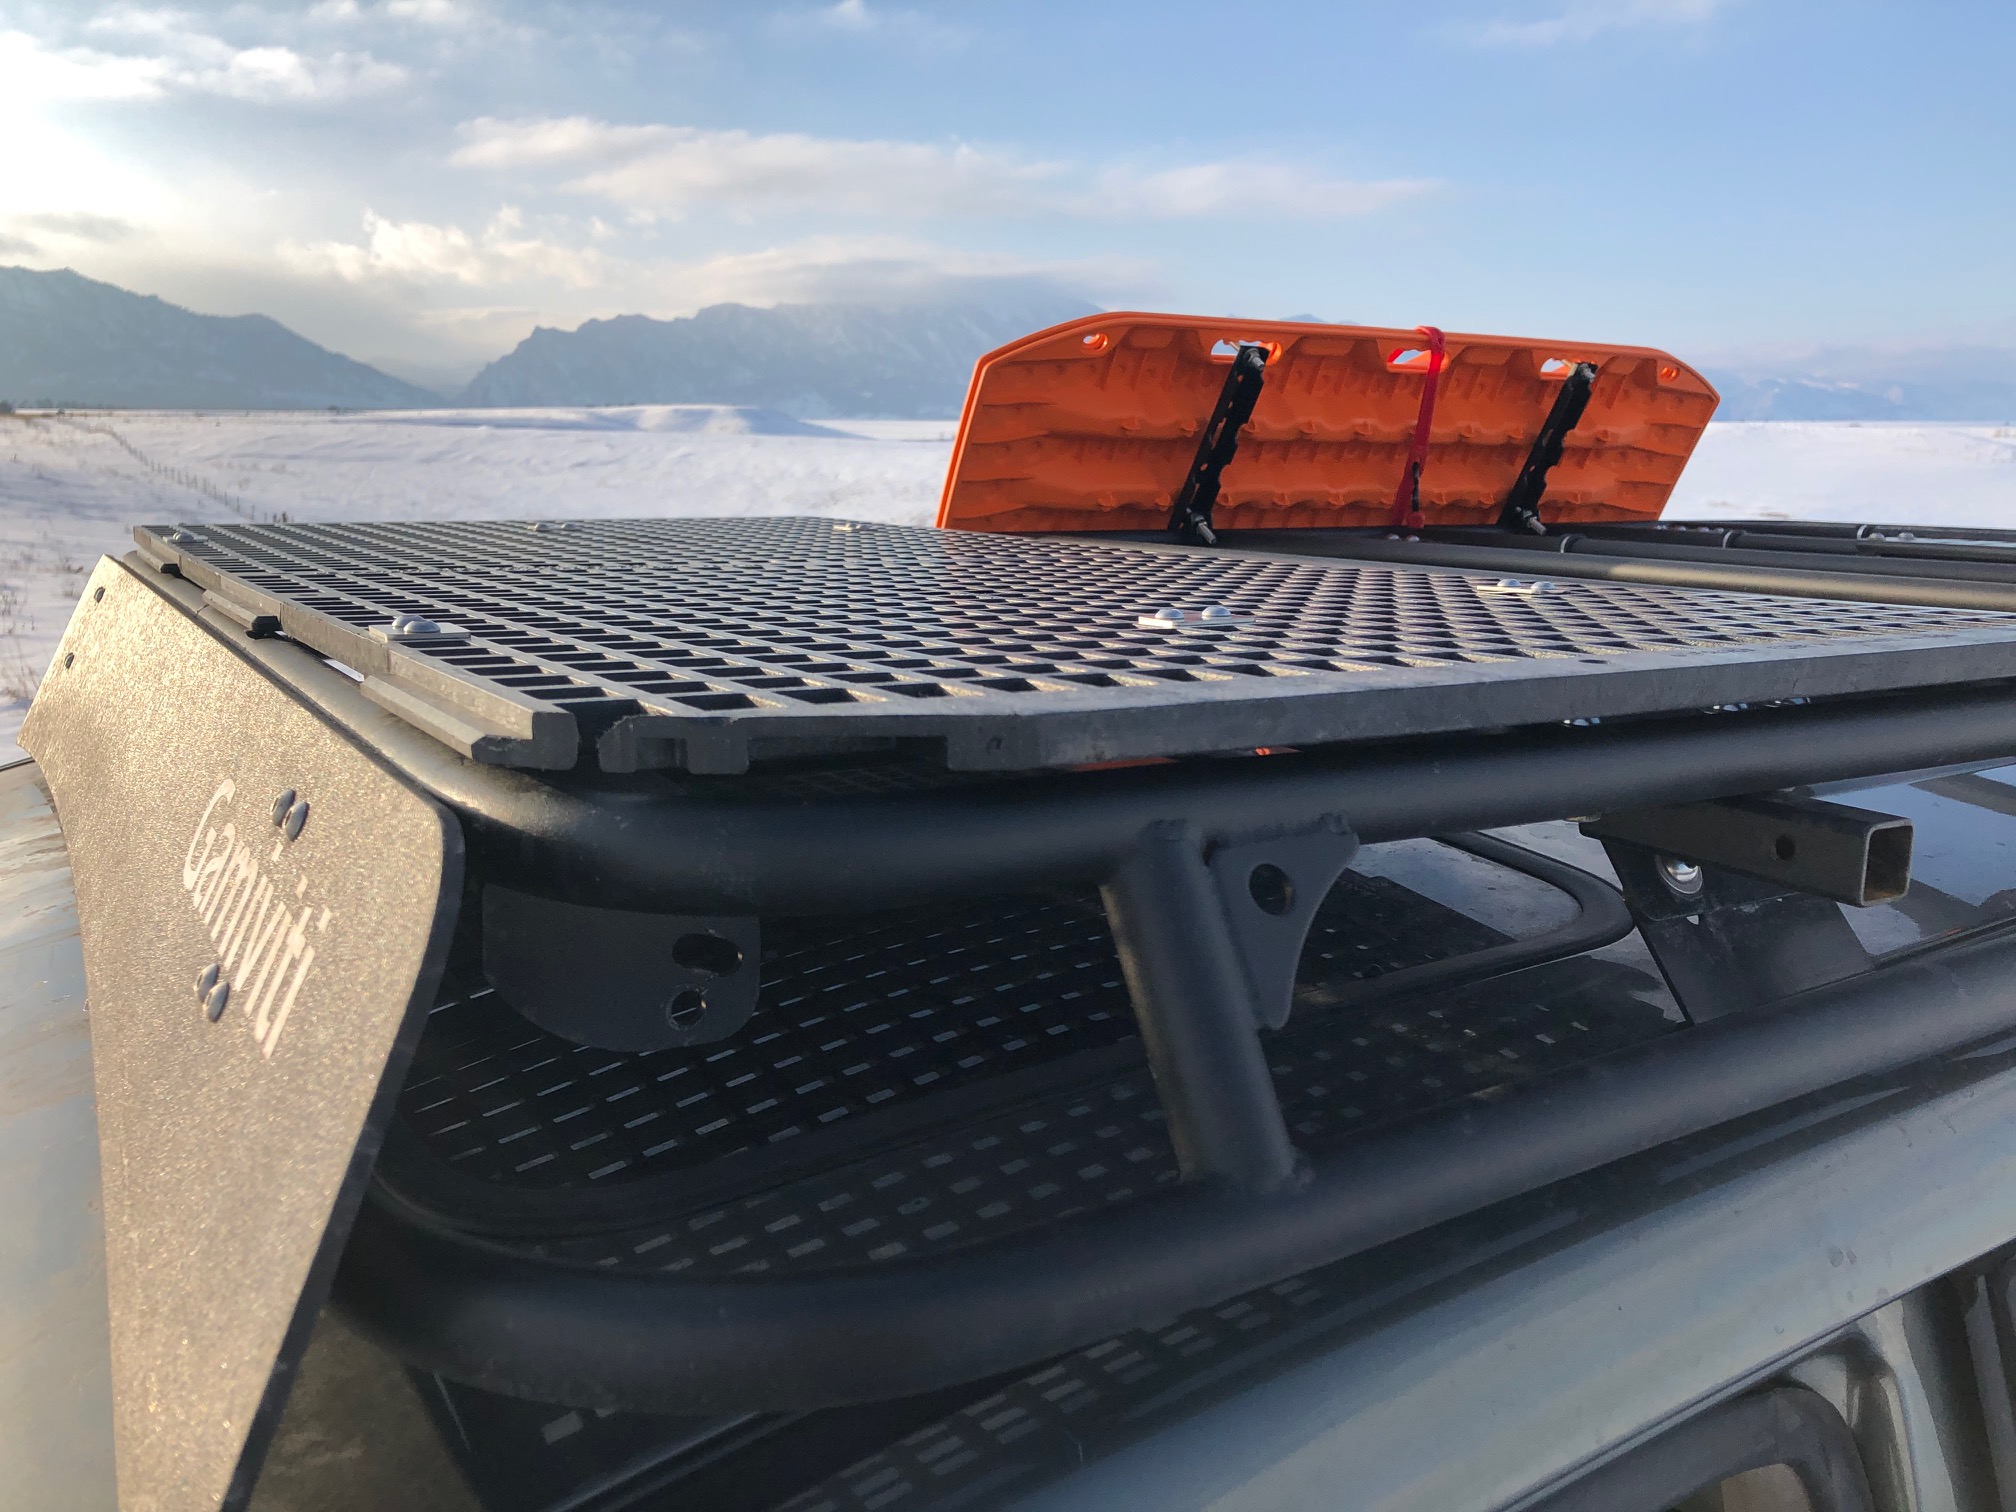

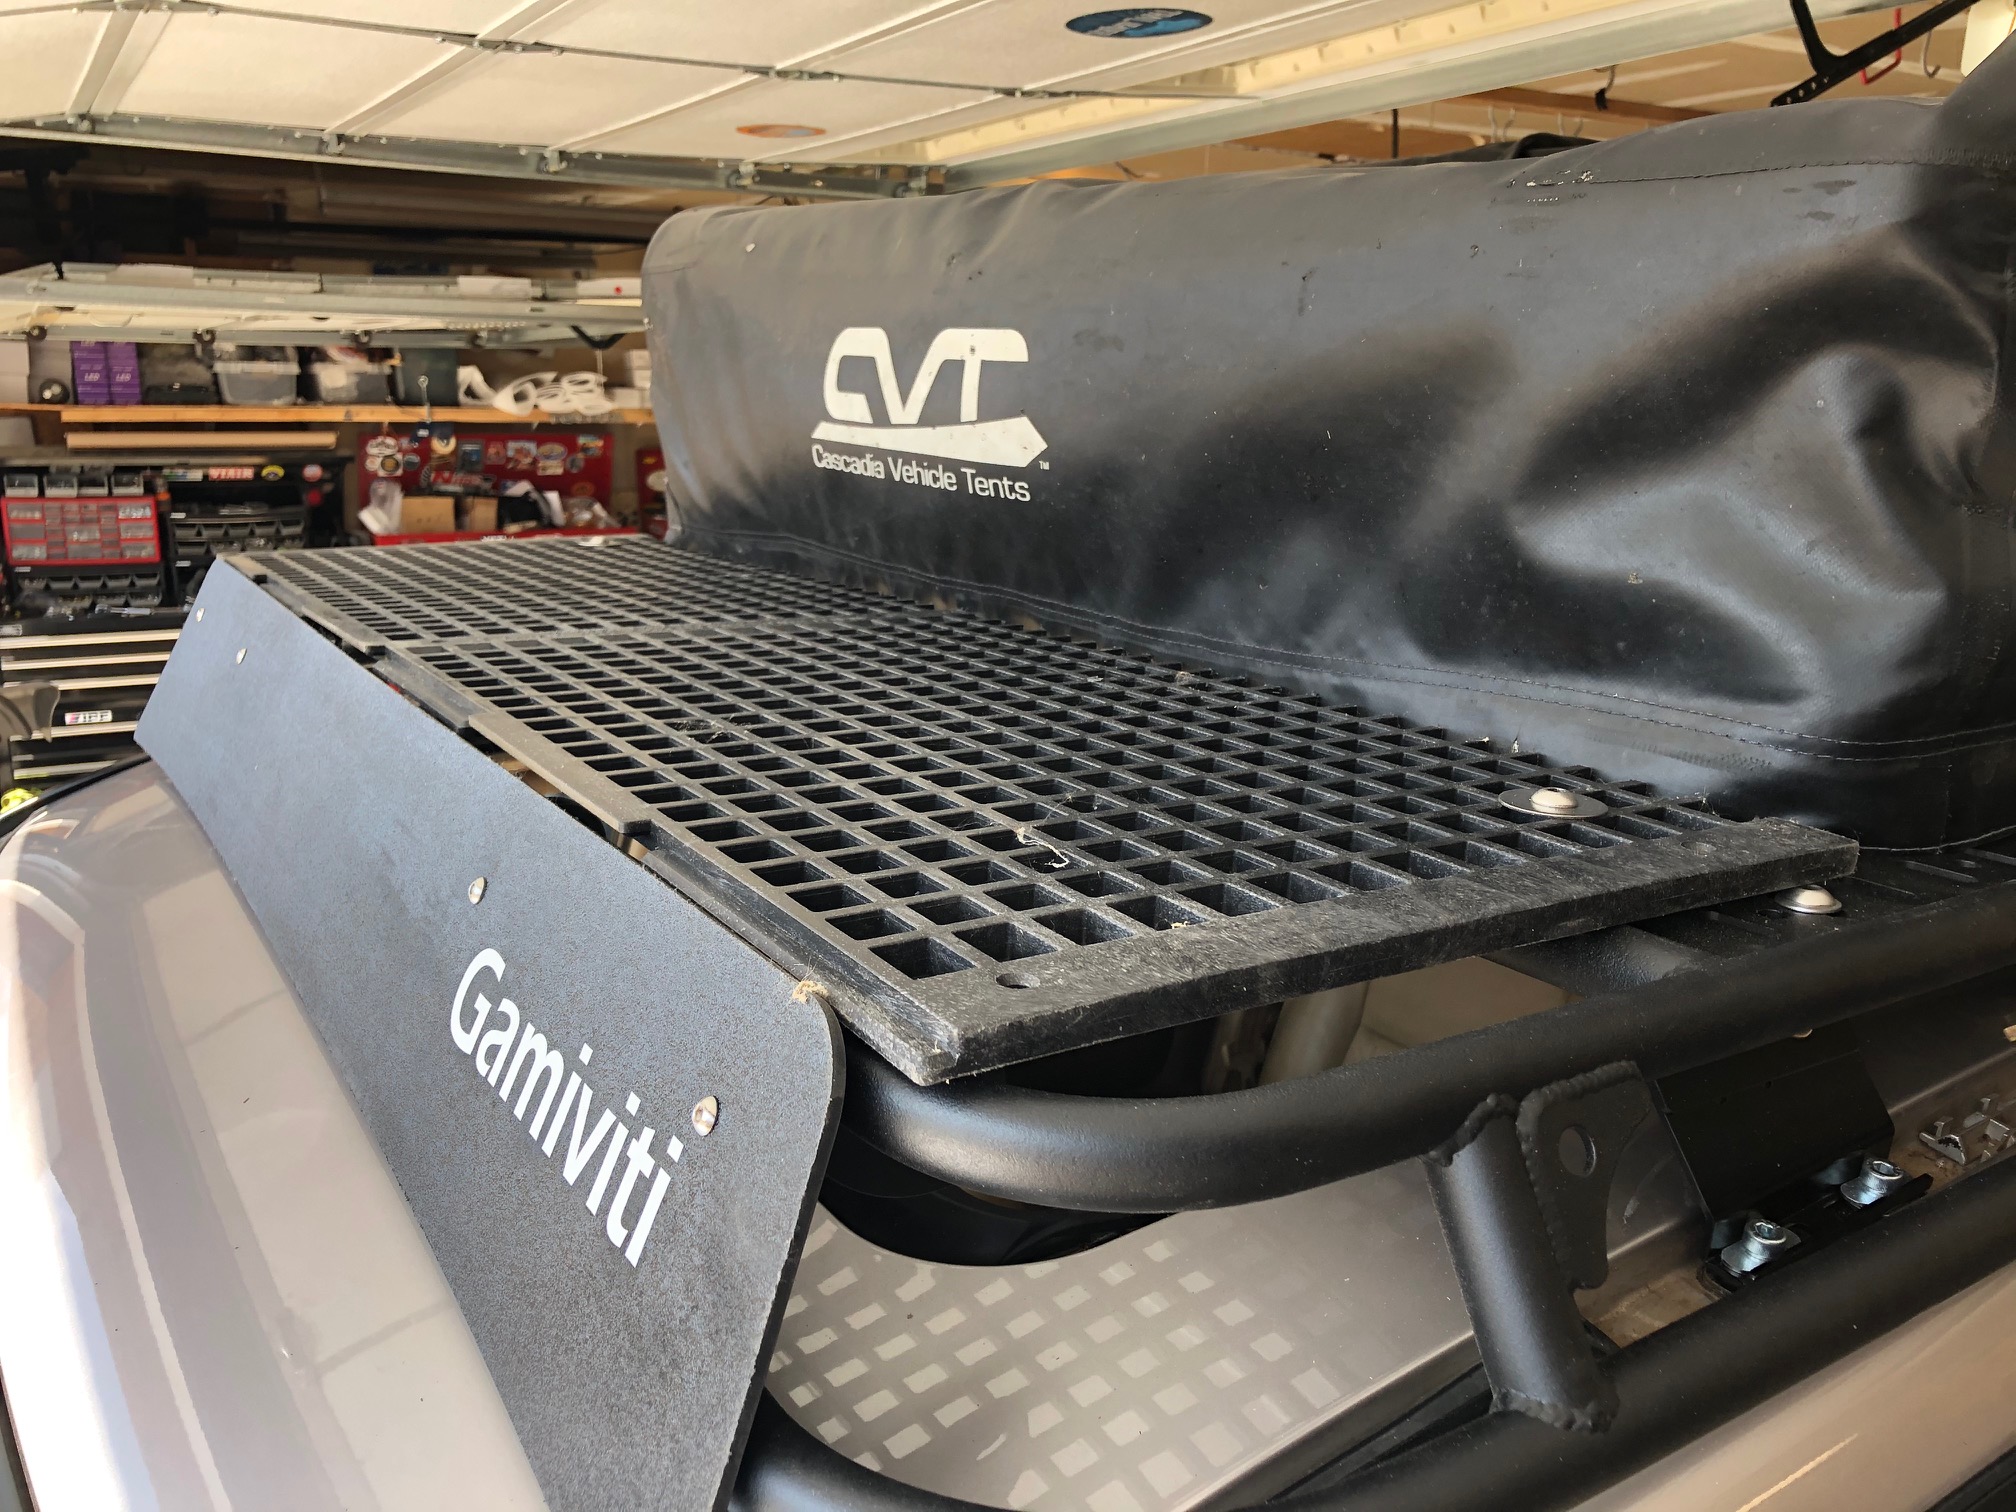
Grid Floors and baskets


We have 3 main options for a grid floor or basket, which we call the "half grid," "full grid," and "drop-down basket." You can even combine them. The half grid is for “3 sections” of rack, and can generally be placed anywhere along the rack, pictured above in back. The full grid is for “6 sections) of rack, and is basically from the back of the rack to the start of the sunroof area. The drop-down basket takes up the same 3-crossbar space as the half grid. The difference with this option is the basket area sits 1.5" lower than the top plane of the rack, so looser items have a spot to settle in a little better. This size also fits many rooftop cargo bags. It’s a tough decision, here are the main pros and cons…
Reasons to add a grid floor or basket:
contain smaller items, things won’t fall between the cross bars
can walk on it, hook straps to it
support for gear bags
Reasons to not add a grid floor or basket:
Added weight, for something you may not use a lot. A half grid adds about 20 pounds, drop basket and full grid about 40.
Can be in the way of other accessories like cargo boxes, ski racks, or bike racks. sometimes you want to put that clamp right where a grid piece is welded.
Useless under a RTT- if you plan on running a roof top tent, then you really won’t use the grid below it.
On all of these options, we will verify how you intend to run your rack- either Expo up or Expo down, then weld the 1/4" solid round stock to the other side of the rack, keeping the top plane flat ready for your RTT, other gear, or next Home Depot run.
Light tabs and gussets


Most racks come with tabs in the back for reverse/scene lights, and tabs in front for a future light bar, be sure to refer to your drawing for exactly what is included. But we can add as many as you want, wherever you want.
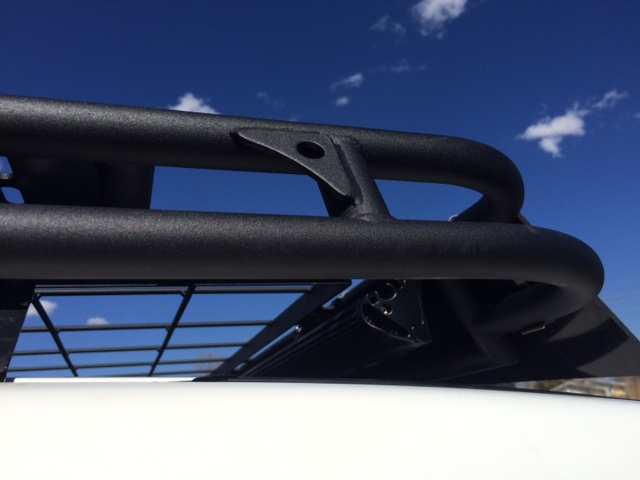
Gussets. Side gussets come standard with the Essential Expo packages, and if you are getting an Expo bar, particularly if that bar is going to be run down, then definitely consider some side gussets. These little triangles are welded to the posts that connect your main hoop to the Expo bar, providing another attachment point for straps and bungees, and also a new place to bolt your shovel, jack, or other accessory item.
Light bar openings


Gamiviti racks are different in than you have the ability to run a light bar “inside” the rack, and behind the fairing. This setup has multiple advantages, the most noteworthy being protection of your light bar, complete shadowing of the light inside the vehicle, and ability to add a custom "snap on" fairing feature. Light bars on a roof rack is just about everyone's first impulse.. and we're proud to be originators of this feature integrated into the rack with these unique set of benefits.
On most Essential Expo racks we provide tabs spaced 42” apart, which works well for most 39-40” light bars. We can also give you a more custom spacing, if you already have a specific light bar in mind.
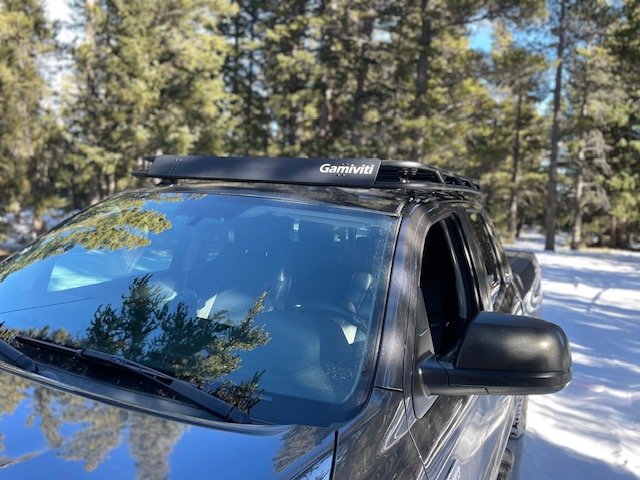
wind fairings


A wind fairing is a fantastic way to reduce the wind noise that often comes with a rack install, also reduce overall drag to help with MPG's, and of course hide that light bar when you're not using it. Our fairings were designed by us, to bolt to your Gamiviti rack, and they come in 3 different shapes, with 3 different attachment methods. Our traditional fairing shape was designed to fit the vehicle, and has a contoured bottom edge which closely follows your roof line across the top of your vehicle. The slim and super slim shapes were designed to fit the rack, giving you a unique look while still blocking a majority of the oncoming wind. The slim fairing fits racks with the wider opening across the front, usually created by the tapered Expo bar, while the super slim works with the narrower gap across the front, on racks without the taper, or running Expo up with the Expo bar sloped back in front.
For attachment, fairings are bolted to the racks using bolts and pipe clamps, bolts and nuts run through welded light tabs, or snapped to the racks using our proprietary plastic clip design. We will make sure we ship the fairing that best fits your rack. See the fairing page for more information and images.